Overview
Minecraft has many mods for users to download and change their game experience. With mods that can take players to space, make them a powerful spellcaster, or add incredible new technology to work towards. Of course, due to how many mods are available and Minecraft updates coming semi-frequently, users may need to keep their mods up to date to ensure their servers run correctly; this can be done following the same process as installing mods, which we will walk through here.
Requirement: A mod loader must be installed to run mods on a Minecraft server.
Forge guide | Fabric guide | Quilt guide
Note: Verify mod compatibility by checking the mod description.
How To Individually Update Mods on a Minecraft Server
Step 1. Download the updated version of the mod.
Step 2. Log in to the Multicraft panel.
Step 3. Stop the server.![]()
Step 4. Go to the File Manager tab on the left.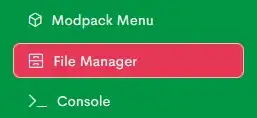
Step 5. Open the mods folder.![]()
Step 6. Delete the old mods .jar file. 
Step 7. Click the Upload button. ![]()
Step 8. Drag and drop the updated mod from Step 1.
Step 9. Start the server.![]()
- Minecraft, Minecraft mods, minecraft update mods
- 0 Users Found This Useful