
Overview
Fabric is a widely used modding platform for Minecraft, designed to provide players with a more flexible and streamlined modding experience. Unlike other mod loaders, Fabric focuses on speed and performance, making it an excellent choice for both players and developers. It allows for easy installation and management of mods, ensuring compatibility and reducing conflicts between different modifications. With its open-source nature and active community support, Fabric has become a popular choice for enhancing and customizing the Minecraft experience.
Note: Make a backup of existing saves on the server.
Note: Access to installing Fabric via the JAR Menu is limited to servers with the Advanced Support addon. Alternatively, Forge can be installed manually by following the guide provided below.
Note: The server must fully start once to generate config files and folders.
How To Install Fabric on a Minecraft Server (JAR Menu)
Step 1. Log in to the Multicraft panel.![]()
Step 2. Stop the server.![]()
Step 3. Go to the File Manager tab on the left.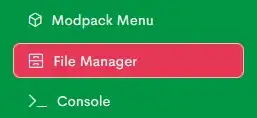
Step 4. Click the All button.![]()
Step 5. Select the Delete button.![]()
Step 6. Confirm by clicking the Delete button.![]()
Step 7. Return to the Home tab.
Step 8. Select the Open JAR Menu button.![]()
Step 9. Click Fabric Latest on the left.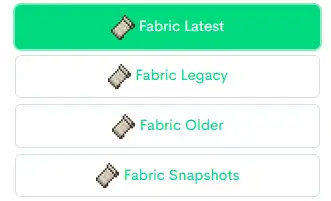
Note: Fabric Older contains Fabric versions compatible with the BCLib mod.
Fabric Snapshots contains the 23w51b (1.20.5) snapshot.
Step 10. Toggle the button next to Fabric. Fabric for Minecraft version 1.20.4 is used in this example.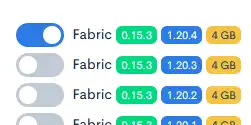
Step 11. Click the Save button at the bottom.![]()
Step 12. Start the server.
How To Install Fabric on a Minecraft Server (Manual)
Step 1. Download Fabric.
Step 2. Launch the Fabric installer and select the Server tab.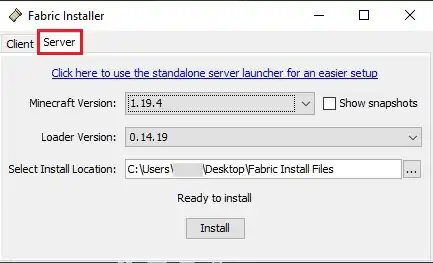
Step 3. Choose a Minecraft version.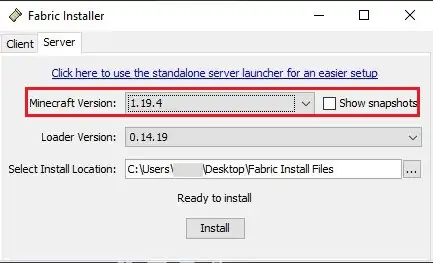
Step 4. Change the install location to a folder on the desktop.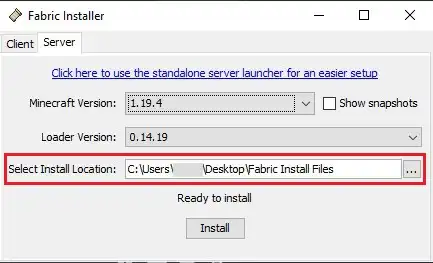
Step 5. Click Install.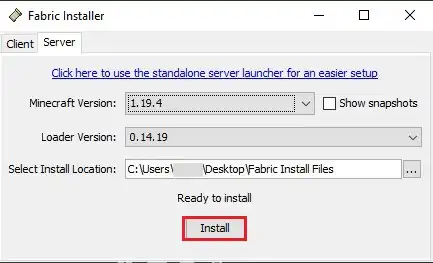
Step 6. Select Download server jar.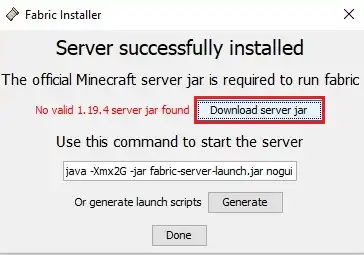
Step 7. Once finished, click Done.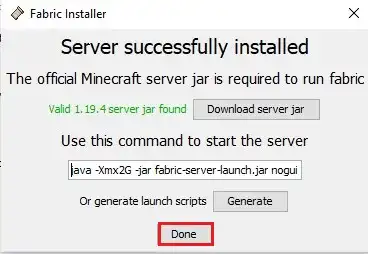
Step 8. Navigate to the folder on the Desktop.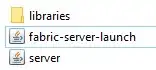
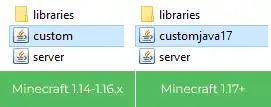
Step 9. Rename fabric-server-launch.jar depending on the Minecraft version from Step 3:
Minecraft 1.14-1.16x = custom.jar
Minecraft 1.17+ = customjava17.jar
Step 10. Select all files and compress them to a zipped folder.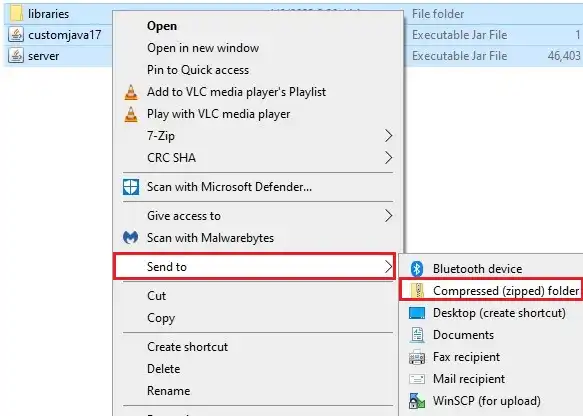
Step 11. Minimize the file to use later in the guide.
Step 12. Log in to the Multicraft panel.![]()
Step 13. Stop the server.![]()
Step 14. Go to the File Manager tab on the left.
Step 15. Click the All button.![]()
Step 16. Select the Delete button.![]()
Step 17. Confirm by clicking the Delete button.![]()
Step 18. Select the Upload button.![]()
Step 19. Drag and drop the .zip file from Step 11 to upload. 
Step 20. Select and Unarchive the uploaded .zip file.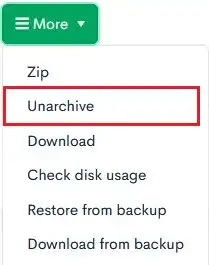
Step 21. Confirm by clicking the Unarchive button.![]()
Step 22. Return to the Home tab.
Step 23. Select the Open JAR Menu button.![]()
Step 24. Click Custom on the left.
Step 25. Toggle the button next to Custom.jar that matches your version from Step 10.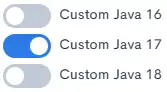
Step 26. Click the Save button at the bottom.![]()
Step 27. Start the server.