Overview
Quilt on Minecraft is a highly imaginative and creative mod that transforms the virtual world of Minecraft into a vibrant patchwork of colors and patterns. With Quilt, players can design and customize their in-game blocks, textures, and objects, expressing their artistic visions and making their Minecraft world unique. Whether crafting intricate quilts or creating mesmerizing pixel art, Quilt adds a new layer of aesthetic depth to the beloved sandbox game.
Note: Make a backup of existing saves on the server.
Note: Access to installing Quilt via the JAR Menu is limited to servers with the Advanced Support addon. Alternatively, Quilt can be installed manually by following the guide provided below.
Note: The server must fully start once to generate config files and folders.
How to Install Quilt on a Minecraft Server (JAR Menu)
Step 1. Log in to the Multicraft panel.![]()
Step 2. Stop the server.![]()
Step 3. Go to the File Manager tab on the left.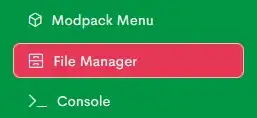
Step 4. Click the All button.![]()
Step 5. Select the Delete button.![]()
Step 6. Confirm by clicking the Delete button.![]()
Step 7. Return to the Home tab.
Step 8. Press the Open JAR Menu button.![]()
Step 9. Select Quilt on the left.
Step 10. Toggle the button next to Quilt. Quilt for Minecraft version 1.19.4 is used in this example.![]()
Step 11. Start the server.![]()
How to Install Quilt on a Minecraft Server (Manual)
Step 1. Download Quilt.
Step 2. Launch the Quilt installer and select the Server tab.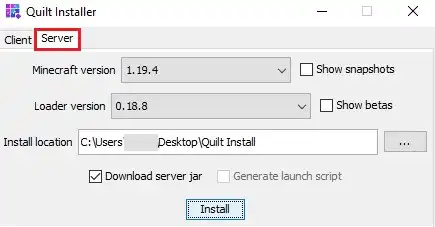
Step 3. Choose a Minecraft version.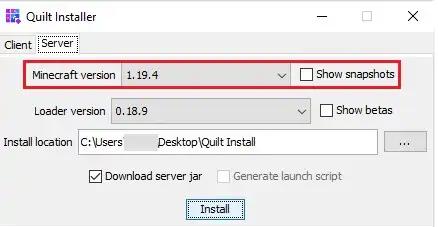
Step 4. Change the Install location to a folder on the desktop.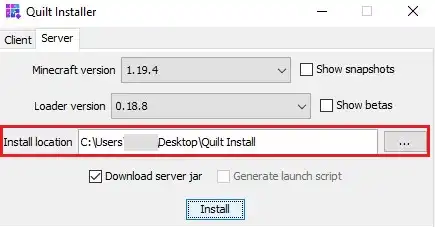
Step 5. Click Install.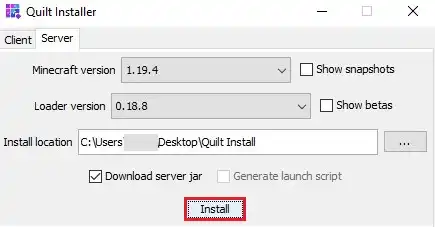
Step 6. Once finished, navigate to the folder on the desktop.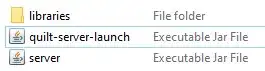
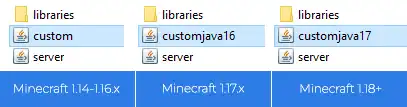
Step 7. Rename quilt-server-launch.jar depending on the Minecraft version from step 3:
Minecraft 1.14-1.16.x = custom.jar
Minecraft 1.17.x = customjava16.jar
Minecraft 1.18+ = customjava17.jar
Step 8. Select all files. Right-click and choose Send to>Compressed (zipped) folder. 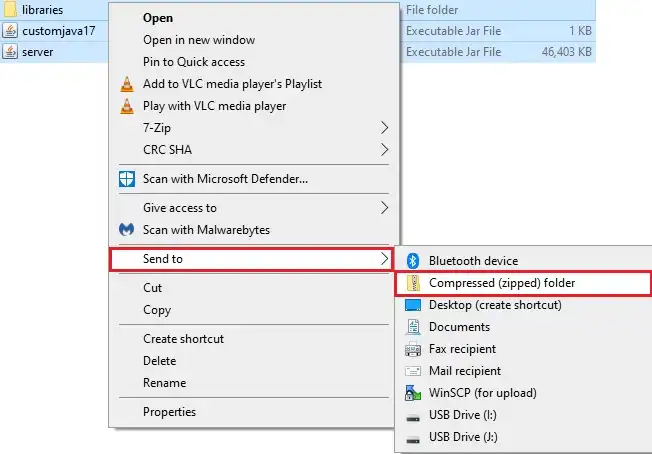
Step 9. Minimize the file to use later in the tutorial.
Step 10. Log in to the Multicraft panel.![]()
Step 11. Stop the server.![]()
Step 12. Go to the File Manager tab.
Step 13. Click the All button.![]()
Step 14. Select the Delete button.![]()
Step 15. Confirm by clicking the Delete button.![]()
Step 16. Click the Upload button.![]()
Step 17. Drag and drop the .zip file from step 8.
Step 18. Check the .zip file.![]()
Step 19. Click the More drop-down menu and select Unarchive.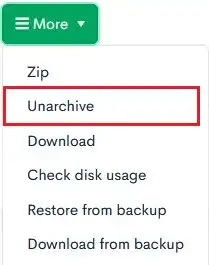
Step 20. Return to the Home tab.
Step 21. Press the Open JAR Menu button.![]()
Step 22. Select Custom on the left.![]()
Step 23. Toggle the button next to the custom jar version from Step 7.![]()
Step 24. Start the server.![]()