Creating custom skins in Minecraft Java Edition may seem daunting, but with a helping hand, you will soon have the best skin in all the land! Today we explain step by step how to create custom Minecraft skins in Java Edition. So, let’s begin!
Step 1: Downloading the Minecraft Skin Template
Templates provide a layout that can be edited and customized. To download one, simply head over to the help article titled “Minecraft Java Edition Skins.” There the templates “Standard” and “Slim” will both be highlighted for download under the “Learn About Standard and Slim Skin Models” section.
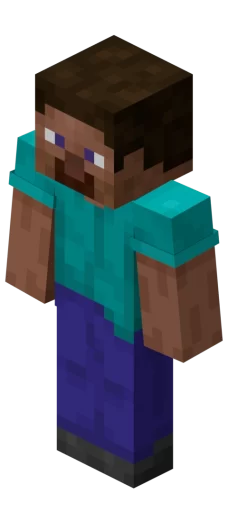
- Standard: Steve’s Model.
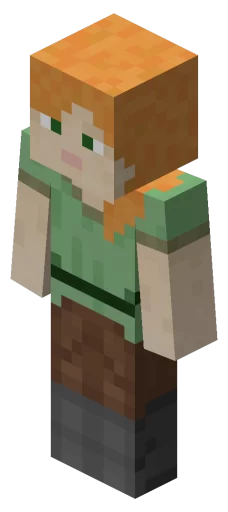
- Slim: Alex’s Model.
Step 2: Opening the Template in an Image Editor

The skin template is a PNG file, meaning an image editor is needed to customize it. Various tools like Paint, GIMP, or Adobe Photoshop are all examples of programs that can be used.
However, those seeking simpler online options can also find web-based editors such as the one offered on Minecraftskins.com.
Step 3: Understanding the Template
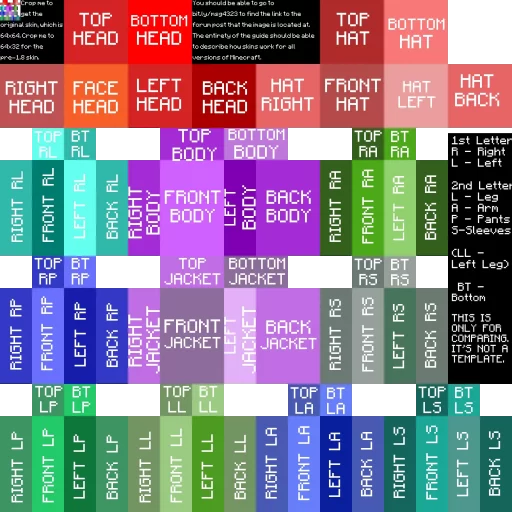
Both the “Slim” and “Standard” templates are divided into multiple areas for different body parts. Below we have made a basic breakdown:
- The top area is the head, and the part directly beneath is the torso.
- To the right of the torso are the arms.
- At the bottom of the template are the legs.
There are also additional areas outside the main body for items like hats, jackets, and pants. The left and right parts of each area represent the front and back views, respectively.
Step 4: Designing Your Skin
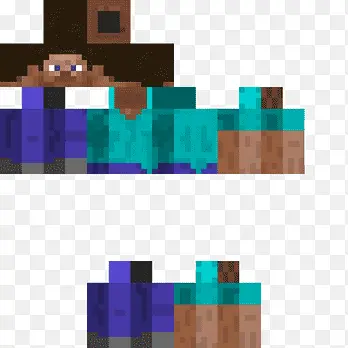
Typically, skin creators will progress area by area while erasing the template as they go. Be sure to pay attention to the pixel grid, as each pixel represents a different part of your skin’s body. Finally, remember not to get overwhelmed. With time, the template won’t seem as complicated as it does now.
Step 5: Saving Your Skin
Once you are happy with the design, save the image as a PNG file. Congratulations! You now have your custom skin!
How to Create Custom Minecraft Skins
With your new skin in hand, head over to the official Minecraft website to upload it. Just don’t forget to select the model type that matches your template! If all was done correctly, it should be visible in-game within the hour, if not instantly.
Until Next Time,
MelonCube Hosting =)
