Overview
Forge is a popular modding platform for Minecraft that provides players with a powerful and flexible way to customize their gameplay. It serves as a foundation for developers to create and distribute mods, which are modifications that add new features, items, and mechanics to the game. With Forge, players can enhance their Minecraft experience by installing and running various mods that cater to their preferences, whether adding new dimensions, creatures, or gameplay mechanics.
Note: Make a backup of existing saves on the server.
Note: For Forge 1.16 and lower, see here.
How To Manually Install Forge 1.17+ on a Minecraft Server
Step 1. Download Forge.
Step 2. Choose a version and select Installer.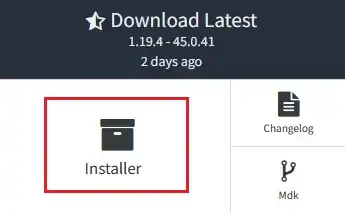
Step 3. Launch the Forge installer and select Install server.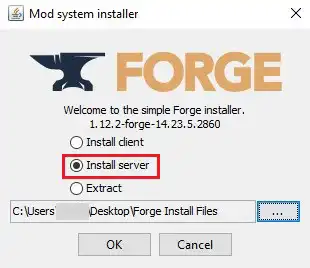
Step 4. Change the install location to a folder on the desktop.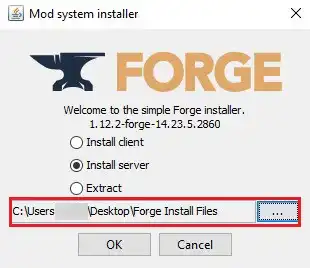
Step 5. Click OK.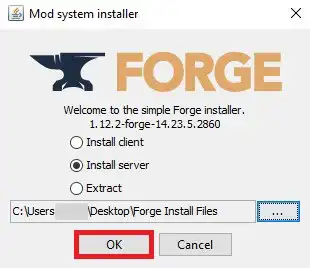
Step 6. Once finished, navigate to the folder on the desktop.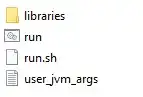
Step 7. Select all files. Right-click and choose Send to>Compressed (zipped) folder.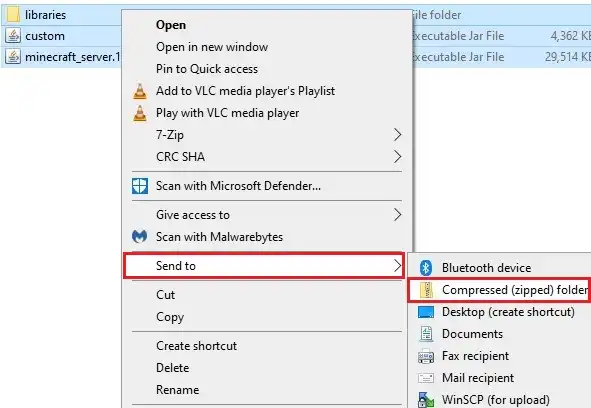
Step 8. Minimize the file to use later in the guide.
Step 9. Log in to the Meloncube Games panel.
Step 10. Stop the server.![]()
Step 11. Go to the Files tab on the left.![]()
Step 12. Select all files with the checkbox in the top-left.
Step 13. Press the Delete button.![]()
Step 14. Confirm by clicking the Delete button.![]()
Step 15. Select the Upload button.![]()
Step 16. Drag and drop the .zip file from Step 8.
Step 17. Unarchive the file with right-click.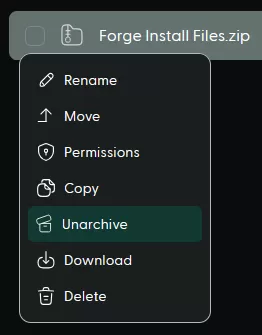
Step 18. Open the Minecraft Jar menu.![]()
Step 19. Click Custom on the left.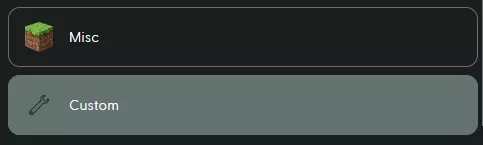
Step 20. Press the Install button next to Custom Forge 1.17+.
Step 21. Select Keep current files and update JAR from the instance dropdown. 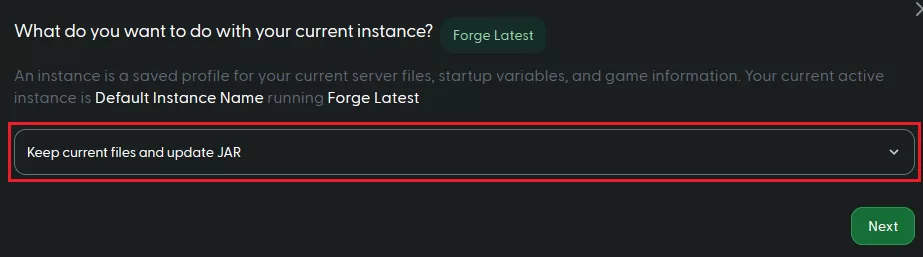
Step 22. Start the server.![]()
- Minecraft, Minecraft server, Minecraft mods, Minecraft Forge, Forge 1.17, Install Forge
- 3 Users Found This Useful