Overview
Installing a vote listener on a Minecraft server enables players to vote for your server on tracking sites, boosting its visibility and attracting new players. In return for their vote, players can receive in-game rewards, which incentivizes participation and enhances their gameplay experience. This system plugin creates a positive feedback loop, increasing server popularity while rewarding your community.
Requirement: Nuvotifier must be installed. Learn how to here.
How To Install a Vote Listener on a Minecraft Server
Step 1. Download the preferred vote listener. SuperbVote is used in this tutorial.
Step 2. Log in to the Meloncube Games panel.
Step 3. Stop the server.![]()
Step 4. Go to the Files tab on the left.![]()
Step 5. Choose the plugins folder.![]()
Step 6. Upload the file from Step 1.
Step 7. Start the server.![]()
Step 8. After a full start, stop the server.![]()
Step 9. Go to the Files tab on the left.![]()
Step 10. Find the following directory: home/container/plugins/SuperbVote .![]()
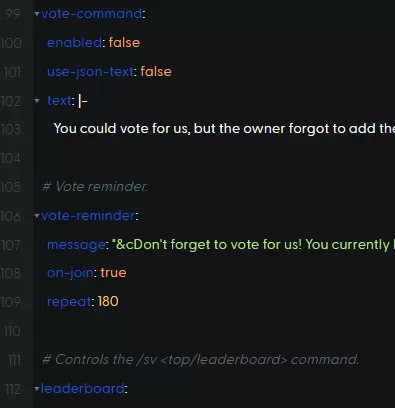
Step 11. Open config.yml.![]()
Step 12. Input the preferred changes.
Note: Check the plugin description for more information on configuration options.
Step 13. Press the Save Content button on the lower right.![]()
Step 14. Start the server.![]()
Step 15. Go to the Console tab on the left.![]()
Step 16. Enter testvote [Username] to test a vote.
