Overview
Requesting the cancellation of a server is a transparent process. To initiate the cancellation, submit a request through the Client panel, stating the intention to terminate the server. If any issues arise with a server, the support team at MelonCube is available to assist in resolving the problem, aiming to find a solution rather than opting for server cancellation as the first course of action. Submit a support ticket here.
Important: If a PayPal subscription is set up on the server, make sure to cancel it on PayPal. See here.
Note: Make a backup of existing saves on the server, as canceling will delete all files.
How To Cancel Service
Step 1. Log in to the MelonCube Client panel.![]()
Step 2. Click on Services.
Step 3. Select the server to cancel.![]()
Step 4. Click Request Cancellation.
Step 5. Describe the reason for cancellation.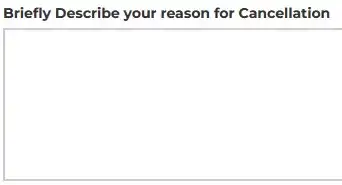
Step 6. Select the cancellation type:
End of Billing Period: Canceled at the end of the current billing period.
Immediate: Canceled in the next 24 hours. 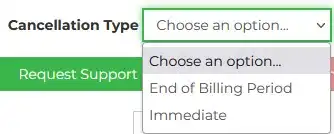
Step 7. Confirm by clicking Request Cancellation.