Overview
Minecraft shaders are graphics modifications or packs that enhance the game's visual experience by introducing advanced lighting, shadows, reflections, and other visual effects. Shaders can significantly improve Minecraft's overall aesthetics, providing more realistic lighting and atmospheric elements, such as dynamic shadows and water reflections. Shader packs are installed on compatible Minecraft versions to elevate the game's graphics and create a more immersive and visually stunning gameplay experience.
Requirements
Minecraft Java is required to install shaders.
Minecraft must be booted once to ensure all files are installed.
Note: The guide below is compatible with Minecraft version 1.16.5 and above. For older versions, go to the Optifine guide here.
Note: Minecraft shaders may impact performance depending on the user's hardware.
How To Install Shaders on Minecraft (Vanilla)
Step 1. Visit the Iris Shaders website.
Step 2. Choose Download Universal Jar.![]()
Step 3. Run the Iris-Installer-[version].jar file.![]()
Step 4. Under Select game version:, choose the desired version from the dropdown menu.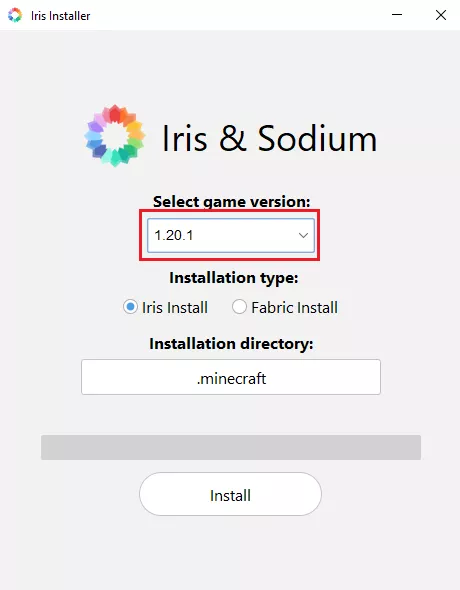
Step 5. Under Installation type:, select Iris Install.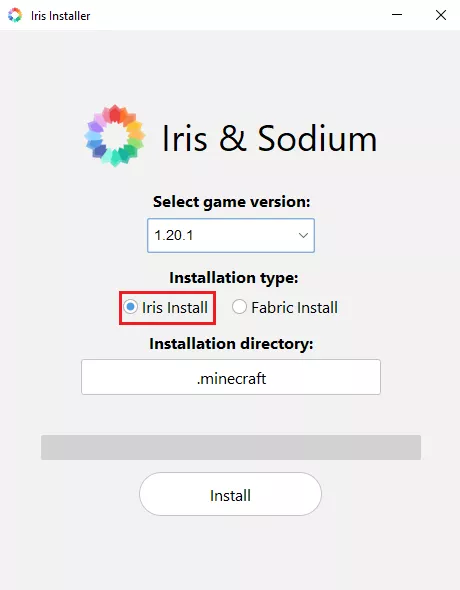
Step 6. Click Install.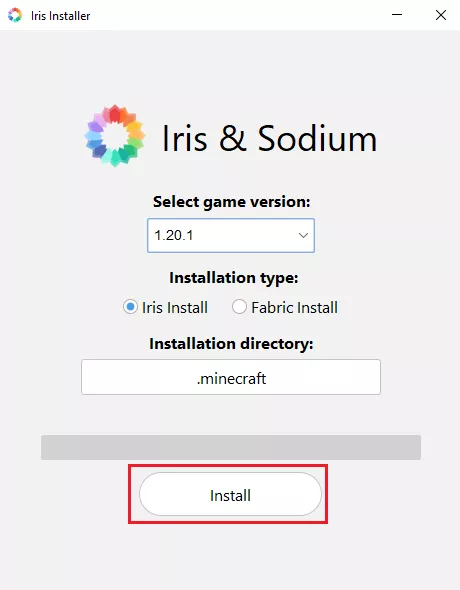
Step 7. Download a shader from websites like Curseforge or Modrinth. It must match the Minecraft version.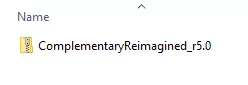
Step 8. Minimize the file to use later in the guide.
Step 9. Open the Minecraft launcher.
Step 10. On the Play tab, select Iris & Sodium for [version] from the menu.![]()
Step 11. Click Play.![]()
Step 12. Mark the checkbox and click Play.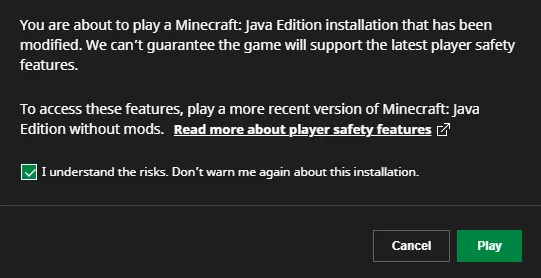
Step 13. Select Options.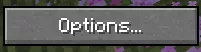
Step 14. Choose Video Settings.![]()
Step 15. Go to the Shader Packs tab.![]()
Step 16. Select Open Shader Pack Folder.![]()
Step 17. Drag and drop the downloaded shader from Step 8.
Step 18. On Minecraft, select the shader and click Apply.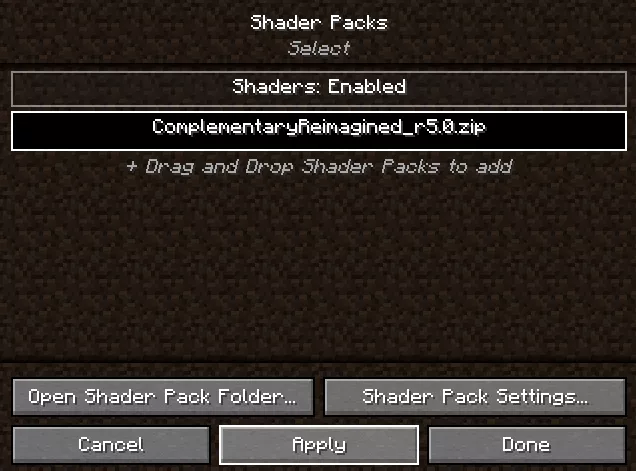
How To Install Shaders on Minecraft (Fabric/Quilt)
Step 1. Download the prerequisites below. It must match the Minecraft version.
Step 2. Minimize the files to use later in the guide.
Step 3. Navigate to the Minecraft installation directory.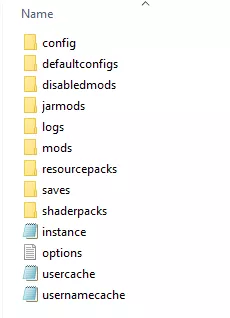
Note: Launchers like CurseForge and Modrinth will have different installation directories for each Minecraft instance.
Step 4. Open the mods folder.![]()
Step 5. Drag and drop the prerequisite files from Step 2.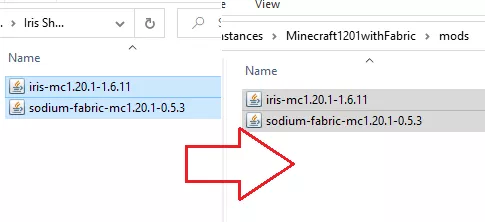
Step 6. Download a shader from websites like Curseforge or Modrinth. It must match the Minecraft version.
Step 7. Minimize the file to use later in the guide.
Step 8. Launch Minecraft.
Step 9. Select Options.
Step 10. Choose Video Settings.![]()
Step 11. Go to the Shader Packs tab.![]()
Step 12. Select Open Shader Pack Folder.![]()
Step 13. Drag and drop the downloaded shader from Step 7.
Step 14. On Minecraft, select the shader and click Apply.
How To Install Shaders on Minecraft (Forge/NeoForge)
Step 1. Download the prerequisites below. It must match the Minecraft version.
Step 2. Minimize the files to use later in the guide.
Step 3. Navigate to the Minecraft installation directory.
Note: Launchers like CurseForge and Modrinth will have different installation directories for each Minecraft instance.
Step 4. Open the mods folder.![]()
Step 5. Drag and drop the prerequisite files from step 2.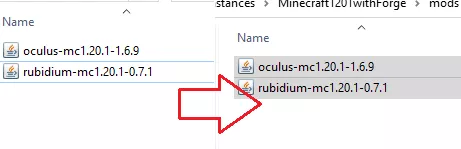
Step 6. Download a shader from websites like Curseforge or Modrinth. It must match the Minecraft version.
Step 7. Minimize the file to use later in the guide.
Step 8. Launch Minecraft.
Step 9. Select Options.
Step 10. Choose Video Settings.![]()
Step 11. Go to the Shader Packs tab.![]()
Step 12. Select Open Shader Pack Folder.![]()
Step 13. Drag and drop the downloaded shader from step 7.
Step 14. On Minecraft, select the shader and click Apply.