Overview
Plugins on Minecraft servers generally go out of date with large game version updates to the base game or the plugins themselves. An out-of-date plugin can cause a lot of problems on servers. Fortunately, they can be easily updated by following the same process as installing them.
How To Update Plugins on a Minecraft Server
Step 1. Download the updated version of the desired plugins .jar file. 
Step 2. Log in to the Multicraft panel.
Step 3. Stop the server.![]()
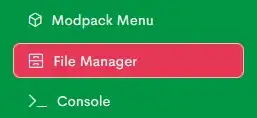
Step 4. Choose File Manager.
Step 5. Locate and open the folder labeled plugins.
Step 6. Select the out-of-date plugin, and choose the Delete button.
![]()
Note: Make sure to download backups locally to avoid losing unnecessary files.
Step 7. Choose the Upload button on the top menu.![]()
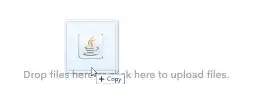
Step 8. Drag and drop the updated .jar plugin into the dropbox. 
Step 9. Once the plugins are uploaded, Start the Server to load the new versions of the plugins.![]()
- 9 Users Found This Useful
